Step 0 — what you need on the desk
A guitar + a way in
Any audio interface (~€45+), a €15 USB guitar cable, or a modeling amp/pedal with USB. The interface guide on this site explains the why.
Headphones or speakers
Wired, ideally. Bluetooth adds delay you'll feel in your hands — kill it for playing.
Chrome or Edge
Any modern browser works, but Chrome-family gives the lowest latency. No install, no download, no plugin scan.
An account (optional)
You can play as a guest immediately. An account saves your tones, streaks and purchases across devices — make it whenever, nothing is lost.
Step 1 — the microphone prompt (it's not spying)
The first time you open the Play page, the browser asks to "use your microphone". That's just how browsers label any audio input — your interface registers as a microphone. Click Allow. If you clicked Block by accident: click the lock/tune icon left of the address bar → Site settings → Microphone → Allow, then reload.
One prompt, once per browser. There's no sign-in wall in front of playing.
Step 2 — pick the input where the meter dances
Next you see a grid of audio input cards — one per device your computer exposes (interface, webcam mic, laptop mic…). Strum the guitar: the card whose level meter bounces is your input. Click it and you're in.
If nothing moves: check the gain knob on the interface (up until hard strums light amber), check you plugged into the INST/Hi-Z input not a line jack, and on Windows open mmsys.cpl → Recording → your device → Default Format → pick a 2-channel option. That last one fixes the classic "second channel is silent" bug almost every time.
Step 3 — the Feelings room: pick a tone, play
The preset wall
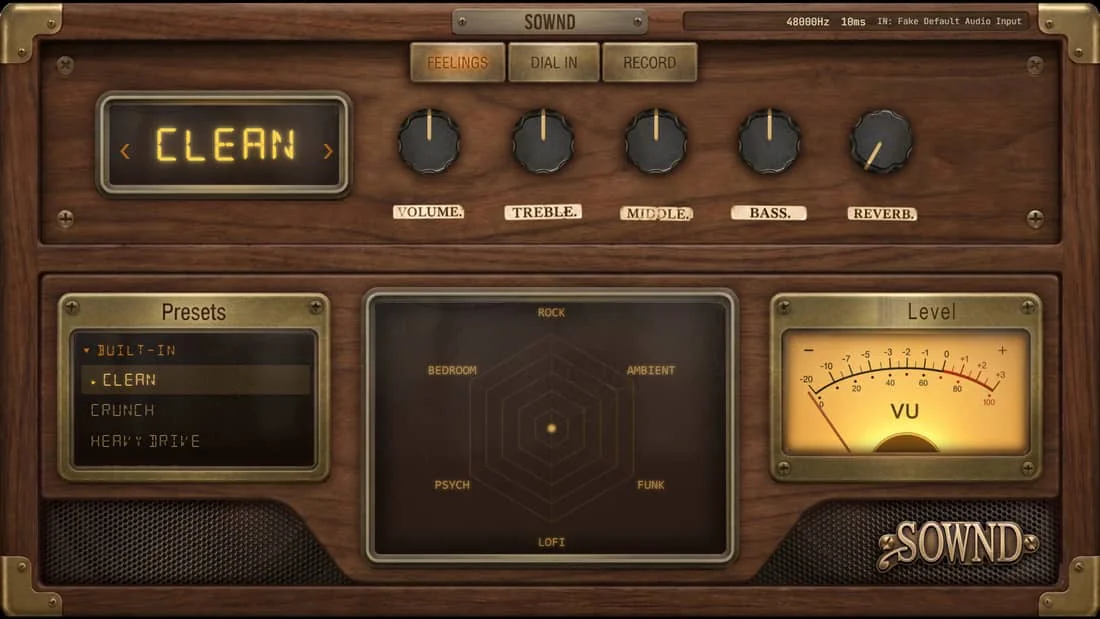
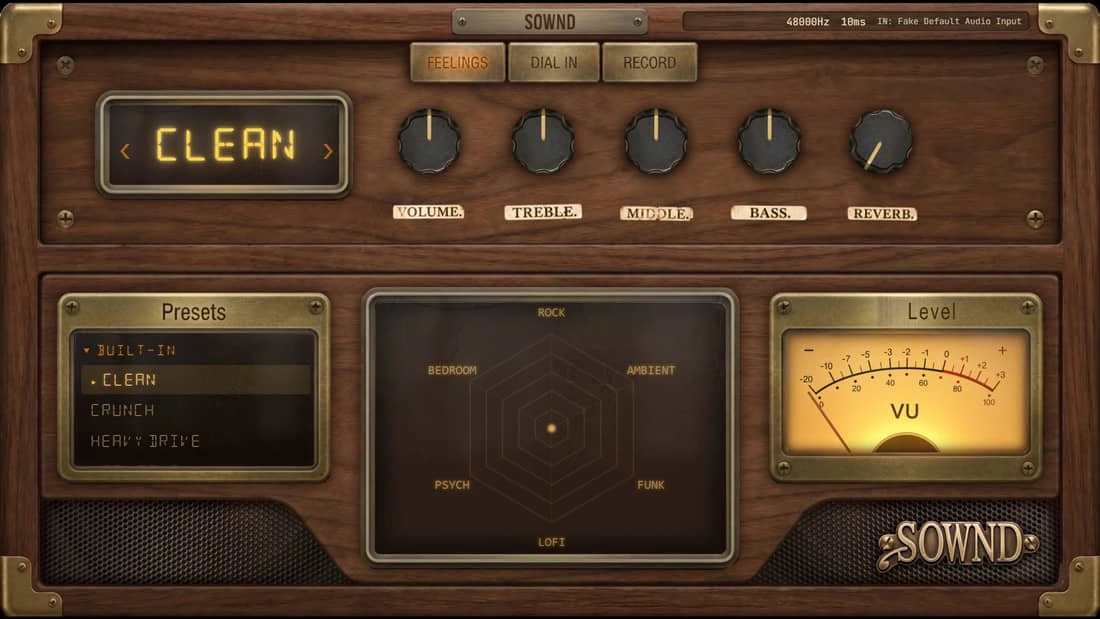
Left side: your tone library. Free tones are playable instantly — click one, it's live. Locked tones show a gold TEST · 1 MIN tag: click to audition the demo for 60 seconds a day.
The compass
The glowing chart in the middle. Drag the genre handles toward the center to blend tones — pull "Glass" and "Dirt" together and you get something between them. This is the fast way to a sound that's yours without touching a knob.
Stars
Hover any preset and hit the ★ — favorites pin to the top of your library forever. Guests keep them locally; accounts sync them.
The meter
Bottom right: your live output level. If it slams red, back the tone off — digital clipping is the harshness you'll hear, not the amp being "too hot".
Step 4 — Dial In: the full pedalboard
The Dial In tab (the brass button, top) opens the complete chain: every pedal and amp stage as its own panel with real knobs — drive, EQ, chorus, delay, reverb, gate, the lot. Change one thing at a time and listen; the preset name on top always tells you what you're standing on.
Made something you love? The save control (a small chip near the preset name) stores it as a custom preset in your library — up to 20, in their own "custom" category.
The telemetry strip along the top shows your live round-trip latency. Under ~10ms feels instant; way above that and something in your chain is adding delay — usually Bluetooth or a big buffer.
Step 5 — Record: your first take
Arm a track
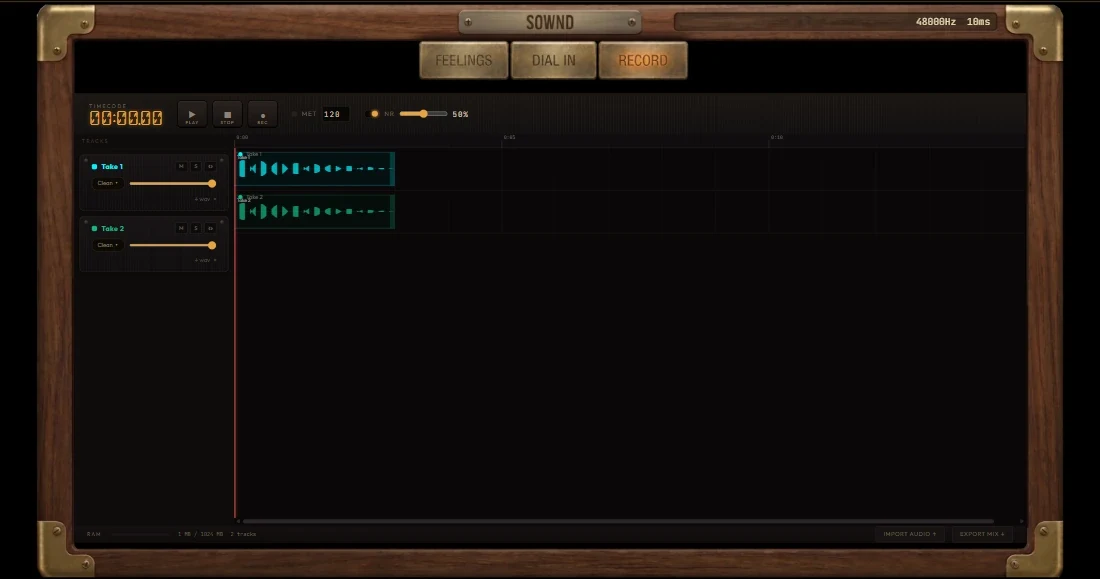
In the Record room, each track row has a record-arm dot. Arm one — it's the only track that captures your input.
Count-in & metronome
Set the BPM, toggle the click, hit the big record button — you get a 4-beat count-in before capture starts.
Stack takes
Record a rhythm track, disarm it, arm track 2, lay a lead over it. Each clip draws its own waveform on the timeline.
Trim
Clips start at 0 — drag the RIGHT edge to cut the tail. There's no moving clips left/right; that's a deliberate keep-it-simple rule.
Solo / mute / volume
Per track, on the row. Mix takes against each other before exporting.
Export WAV
Per-track WAV or a full mixdown — real files you can drop into any DAW or send to a friend.
Step 6 — the Library & the shop
The Library panel (left, in Feelings) is where tones live: the free shelf, pack shelves, and your Favorites at top. Owned packs' presets click straight to active; locked ones run the 1-minute demo audition.
Packs are bought à la carte from the shop, or everything comes with an All Access plan. Either way the deal is the same: a tone you own behaves exactly like a free one — click it, it's live.
When it sounds wrong — the three suspects
Delay between pick and sound
Bluetooth audio. Kill it — no setting fixes BT's lag. Then check the Dial In telemetry strip for the real number.
Harsh, crackling tone
Input gain too hot — red lights on the interface or the SOWND meter pinned. Ease the interface gain to amber-on-loud.
A dry guitar ghosting under your tone
Direct monitor is ON at the interface — you're hearing raw + processed doubled. Turn the interface's direct-monitor/mix knob fully to playback.
Try it while you read
Open the free Bare Wire tone in another tab — follow the steps live.
Quick answers
Is SOWND really free?
The Feelings room and a set of free tones are free forever — no trial expiry. Packs, Dial In's full chain and the Record room are the paid parts; locked tones all offer the 1-minute-a-day audition so nothing is a blind buy.
Does it work on a phone or tablet?
For browsing tones and the shop — yes. For actually playing, the intended rig is a laptop + interface; mobile browsers can't offer the latency a guitar needs.
Where are my tones and recordings saved?
With an account, your rig, favorites, custom presets and purchases sync to your account and follow you. As a guest they live in this browser on this device.
Do I need a fast computer?
Any laptop from the last several years. The DSP runs natively in the browser via WebAssembly — Chrome or Edge is the main thing that matters.
My take got cut off / RAM warning?
The studio watches memory (sessions can get heavy with long takes). If you see the RAM meter climb, export your WAVs and start a fresh session — takes are safest as exported files anyway.